Samsung Galaxy S24 Back Cover Replacement
Introduction
Use this guide to replace the broken or cracked back cover on your Samsung Galaxy S24.
Warning: This guide will show you how to remove the back cover using heat. If you apply too much heat to the phone, you risk damaging the display and weakening the adhesive. Work quickly and carefully.
Required Tools
- Heat gun or iOpener
- Opening pick
- Spudger
- Tweezers
- Precision screwdriver set
- T5 Torx
- PH000 Phillips
- Plastic card
- Double-sided adhesive tape
Required Parts
- Back Cover for Samsung Galaxy S24
- Back cover adhesive
Step 1: Heat the Phone
Apply a heat gun or an iOpener to the bottom edge of the phone for about a minute to soften the adhesive securing the back cover.
Step 2: Create an Opening
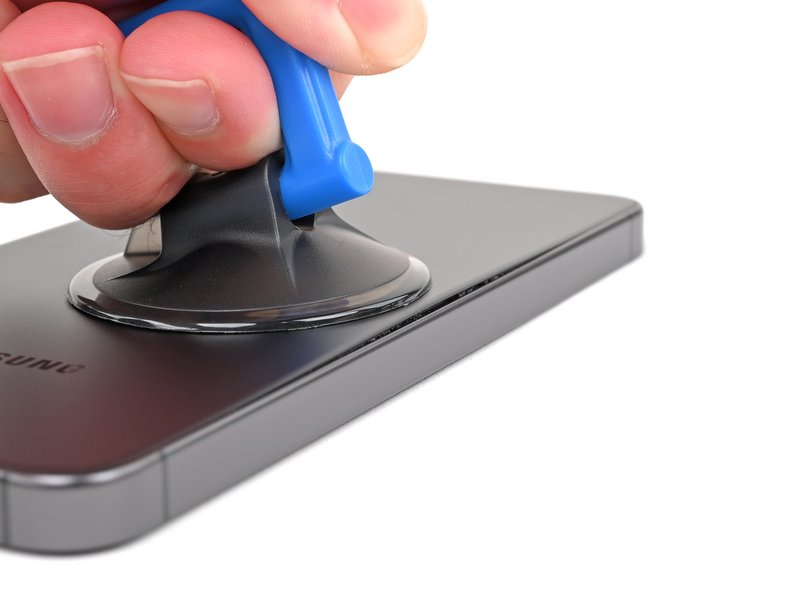
Insert a spudger under the bottom edge of the back cover.
Carefully slide it along the bottom to cut the adhesive.
Step 3: Release the Sides
Use an opening pick to cut the adhesive on the left and right sides of the phone.
Be careful not to insert it too deep to avoid damaging internal components.
Step 4: Remove the Back Cover
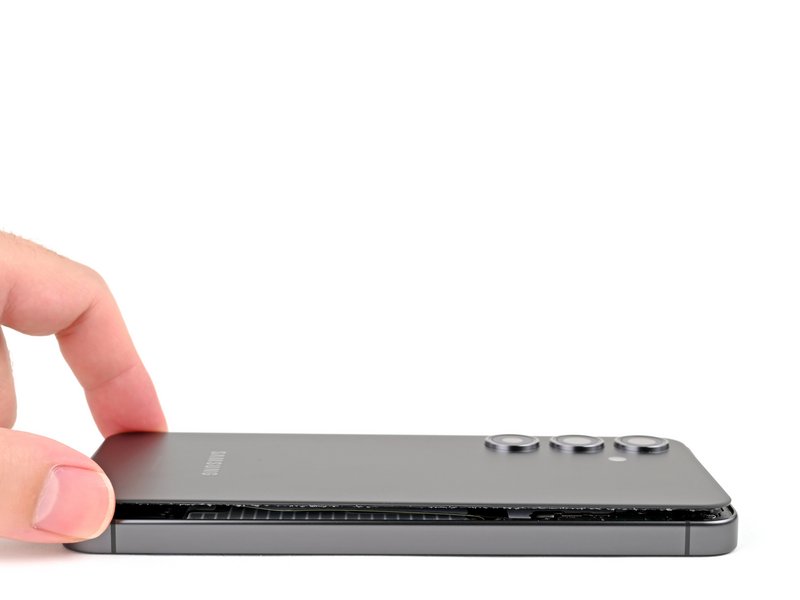
Once the adhesive is cut, gently lift the back cover.
It may resist a bit due to remaining adhesive. If needed, apply a little more heat and repeat the previous steps.
Step 5: Clean Old Adhesive Residue
Use isopropyl alcohol and a microfiber cloth to clean any adhesive residue from the phone's frame.
Ensure the surface is clean and dry before applying the new adhesive.
Step 6: Apply New Adhesive
Apply the new adhesive to the edges of the phone's frame or to the new back cover, depending on the instructions provided with your replacement part.
Remove the backing from the adhesive just before placing the new cover.
Step 7: Install the New Back Cover
Align the new back cover with the phone and press firmly along the edges to seal the adhesive.
Apply even pressure across the entire cover to ensure a good bond.
Conclusion
You have successfully replaced the back cover of your Samsung Galaxy S24. Enjoy your like-new phone!